It's been a two year break since my last post. That's a bit scary but that's how long it's been since 'Paradise' closed down. It took a long time for reality to sink in but all is great now! For the last couple of years, I've been making samples and helping out with demos and sales for a great online shop called Scrap Shotz at the annual Creative Scrapbooker Carnival in Calgary. It seems like very year, I make one or more Kaiser Advent calendars for them and this year was no exception. After multiple searches, I determined that this house had no instructions available so I took pictures of the assembly process and hopefully this will help someone.
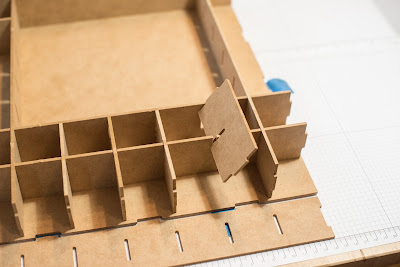
Kaiser Advent House Step by Step Pictorial Assembly
These
pictures depict what you get in your package.
I
used Aleene’s Tacky Glue for the box assembly and just held them in place for
just under a minute to make sure that they would hold. The glue dries white and
I didn’t wipe the excess glue on the outside of my boxes but I did wipe them
smooth with my finger on the outsides.
I
just used regular household shears to cut my pieces and it did a pretty good
job so I did not sand.
The calendar will be a little harder to assemble if you paint all of the pieces first. If you choose to paint first, be prepared to use a little muscle to get the ends in the slots as the wood will swell.
I will try to add pictures of the assembled roof when I get a chance but I don't physically have the calendar to take the pictures.


No comments:
Post a Comment